
For the “dahi” (yogurt):
Directions
0/0 steps made- Whip yogurt till it’s smooth and not lumpy.
- Add ½ tsp cumin powder, ½ tsp salt, chopped coriander leaves. Stir to combine and place in the fridge.
For the pakora:
Directions
0/0 steps made- In a bowl add the besan (gram flour) and enough water to make a smooth batter. Beat the batter well with a spoon. Note: The consistency of the batter is crucial. It should not be too runny or too thick (I know this isn’t super clear… I’ll try to upload a video of the consistency soon). Make it thick enough so it holds its shape during frying, but thin enough to be able to slide or easily pour off the spoon.
- Leave the batter to rest for 15-20 minutes.
- Add in ½ tsp cumin powder, ½ tsp salt, red chilli powder, and baking soda. Stir to combine.
- In a large bowl add about 2 cups of water, 1 tbsp yogurt, 1 tsp salt and 1 tsp cumin powder. Mix well and set aside. This is the flavoured water you’re doing to soak your fried phulkis in.
- In a small frying pan add enough oil to shallow fry the pakora (the pakora should only be immersed halfway).
- Bring the oil to medium heat and then pour the batter with a spoon into the oil. Try to make the pakoras consistent in size so that they cook evenly.
- The phulkis/pakoras should start rising/puffing up almost immediately and tiny air bubbles (almost like Swiss cheese) should form all over it. This means the phulki is cooking well from the inside.
- When you see the sides turn light brown, use a spatula to gently flip the phulki over to cook the other side. This should only take a few seconds.
- Use a skimmer to fish out the cooked phulkis and drain the excess oil. You could freeze the phulkis at this point for later use.
- Add the phulkis to the water mixture and allow to soak for an hour or so.
- Fry the remaining phulkis in the same way. You may need to adjust the flame to control the heat and add more oil between each batch.
Assembly:
Directions
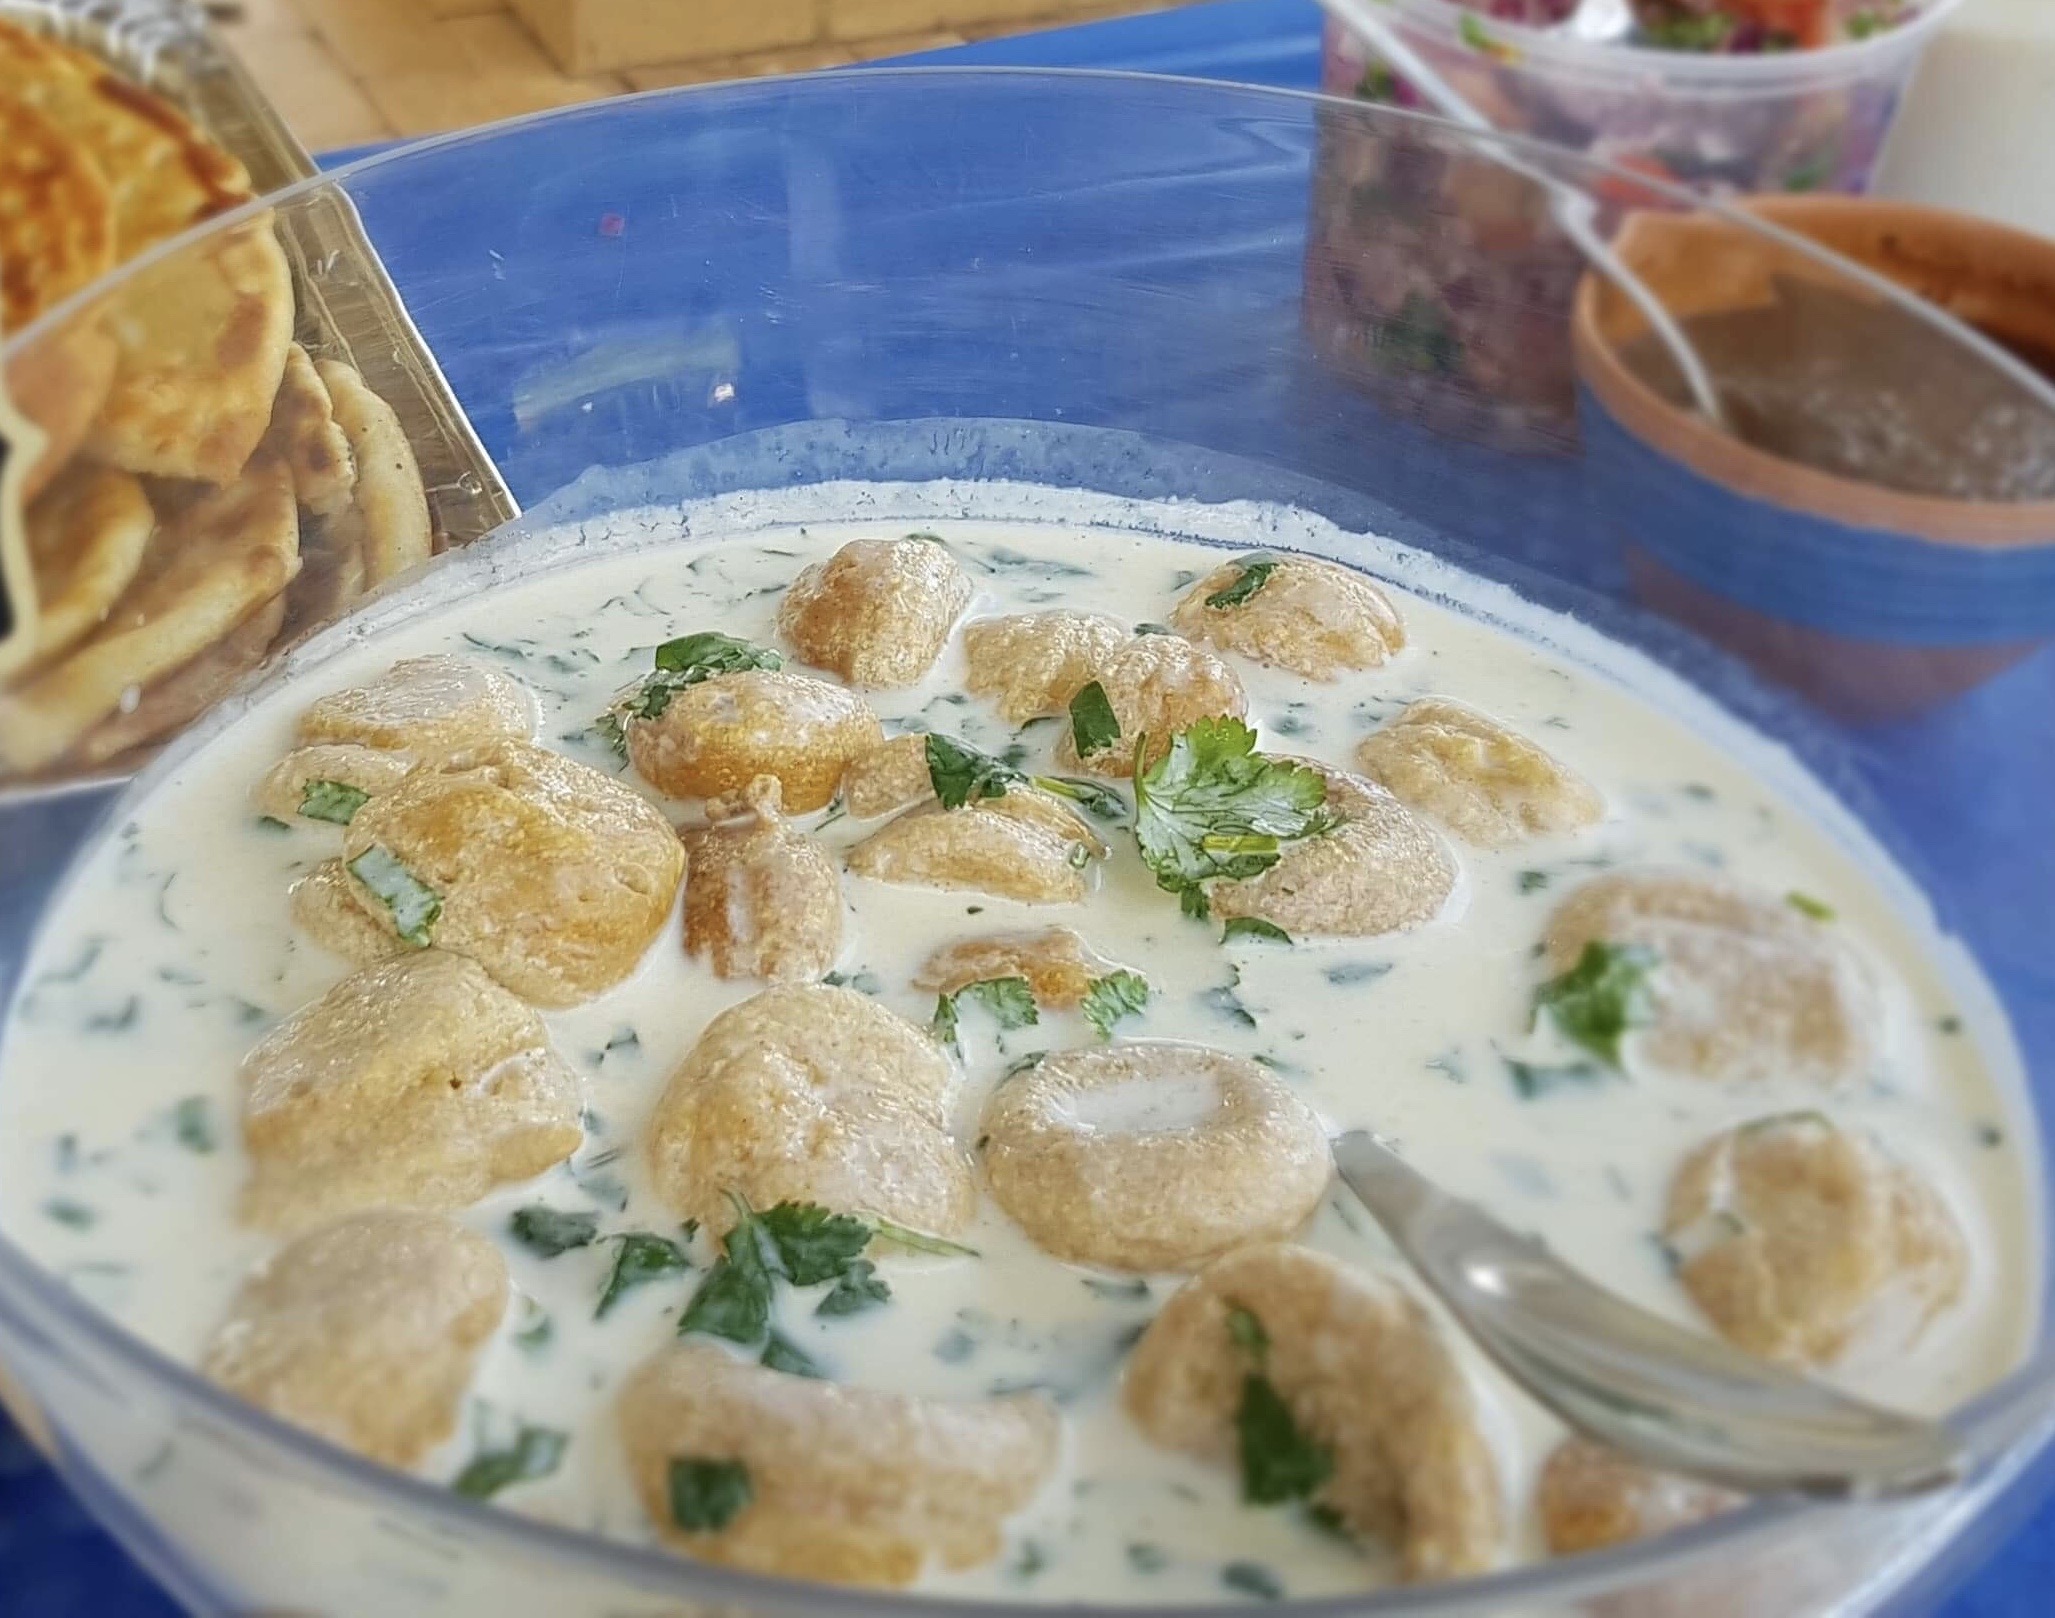
0/0 steps made- The phulki will have soaked up some of the water, but there will still be quite a bit remaining. If you prefer a thicker yogurt base, remove some of the water before adding yogurt to it.
- Add the yogurt to the phulki and stir gently to incorporate all the yogurt and water together. If you find the yogurt is too runny for your liking, stir in more whipped yogurt.
- Taste and adjust seasoning. The water already had salt and cumin powder so you may not need to add too much more of either.
- Serve as a side to a Pulao, Pea Pulao, Kofta Pulao, Aloo Jheengay, daal & boiled rice, chaat…pretty much anything!
Notes
- I like to use a fork to whip the yogurt. You could also use an electric beater to do this. Just don’t use a handheld / stick blender. It tends to aerate the yogurt too much.
- While frying the phulkis you may need to keep an eye on the flame. If the phulkis start to burn too quickly, reduce the flame to low. Alternatively, if the phulkis look a bit flat and aren’t rising, you may need to turn up the heat (only slightly).
- If your phulkis are flat, there could be multiple reasons for this:
- the batter is too thin
- the oil is not hot enough
- there isn’t enough oil in the pan to half-immerse the phulki.
- These phulkis are quite soft, so if you’re like me you might be worried you’re going to break them while stirring in the yogurt. To prevent this, I pour the water out of the phulkis into the yogurt, mix it well, adjust seasoning if needed, and then pour it back in with the phulkis.


Comments are closed